Basic & Intermediate Outdoor Climbing
The Basic & Intermediate Outdoor Climbing series focuses on gear and technique considerations for a day of outdoor climbing. CTT Videos include basic anchors for top roping, different types of outdoor belaying, and how to rappel.
This series also revisits key considerations such as tying into the rope, top-rope belaying and/or lead belaying, plus verbal communications as seen in our Gym Top Roping series. The skills in this series will also help you move into more advanced video series such as Sport Climbing, Traditional Climbing, Multi-Pitch Trad Climbing, and Aid Climbing.
Be careful out there! A mistake or an oversight could have lasting consequences. Triple check everything, and have fun!
Know & Go with ClimbingTechTips.com
Please remember, climbing is inherently dangerous. Climb at your own risk.
-
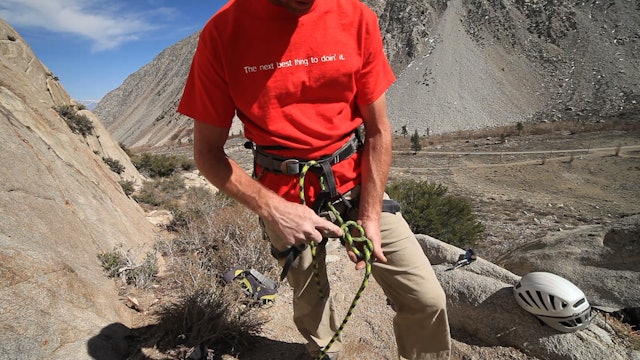
Basic & Intermediate Outdoor Climbing: 1. Harness Safety
As with any roped climbing, indoor or outdoor, start by checking your harness first. Watch the video above--for more on this, see our video "Gym Top Rope Climbing: How to Correctly Put on a Climbing Harness” .
We hope you found this video helpful. Feel free to comment below with questions or...
-
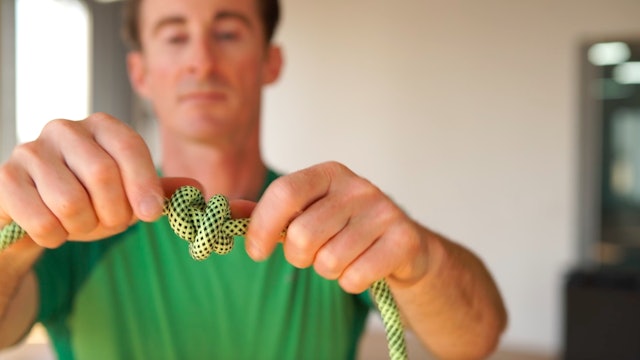
Basic & Intermediate Outdoor Climbing: 2. How to Tie-in with a Figure-Eight Knot
After checking harnesses, the climber will want to properly tie in to his or her harness. The figure eight knot is the most commonly accepted way to tie into a climbing rope. See instructions in the video above. For another view, see our additional video, "Gym Top Rope Climbing: How to Tie into y...
-
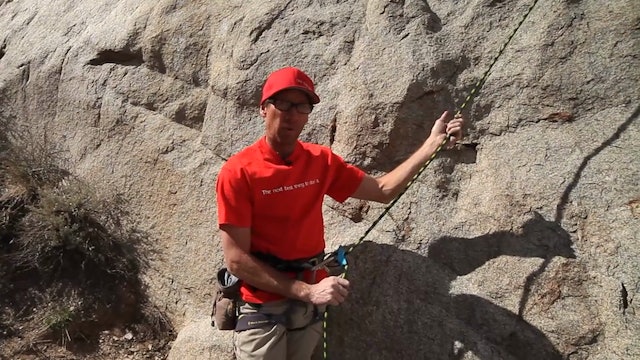
Basic & Intermediate Outdoor Climbing: 3. Top Rope Belay Basics
Next, the belayer will want to put the climber “on belay.” Watch the video above. For even more about top rope belay basics, see our additional video on “Belay Device Fundamentals”.
Once the climber is tied in and the belayer has put the climber on belay, it is time to check harnesses, knots, ...
-
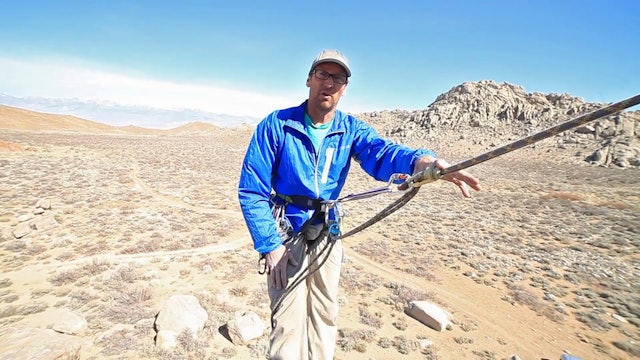
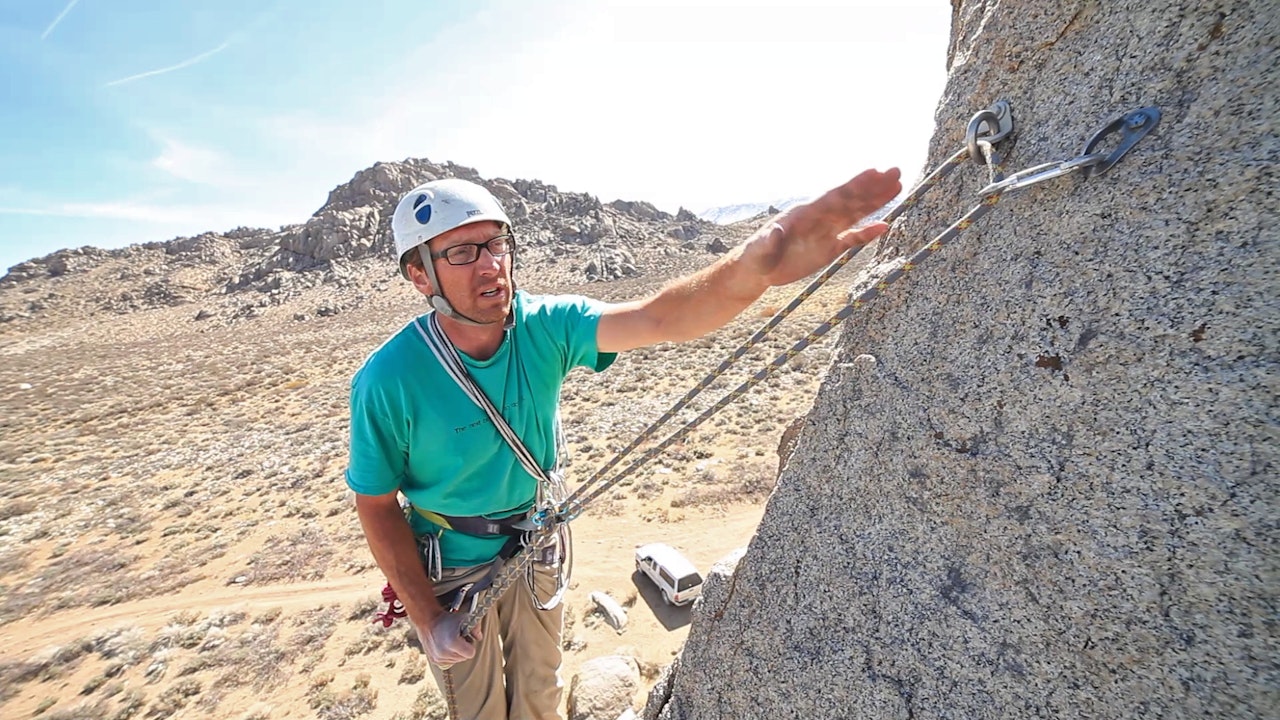
Basic & Intermediate Outdoor Climbing: 4. Top Rope Anchor Safety Considerations - SRENE
Whether building a climbing anchor off pre-existing bolts and hangers, or using traditional climbing gear as protection (such as a combination of active camming devices and passive stoppers or “nuts”), there is one basic principle that applies to all anchors. We describe this technique with the a...
-
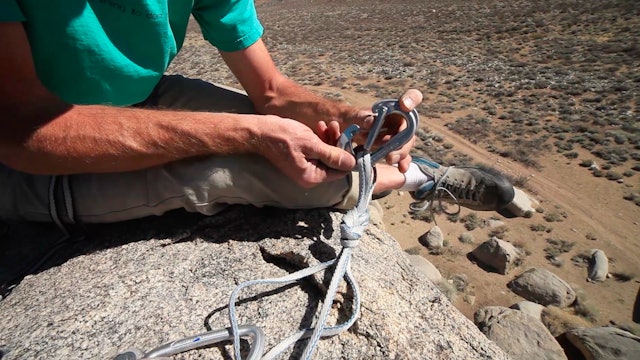
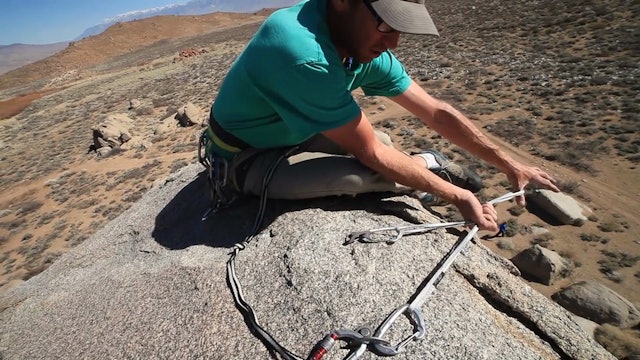
Basic & Intermediate Outdoor Climbing: 5. Opposite and Opposed
Before we dive too deep into our top rope anchor videos, let’s take a closer look at how to make carabiners “opposite and opposed” for the Master Point (the equalized point where the climbing rope runs through the carabiners).
For this technique you can use:
1 - locking carabiner -and- 1 n...
-
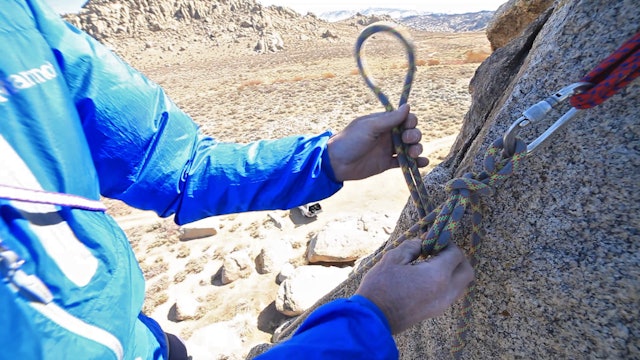
Basic & Intermediate Outdoor Climbing: 6. Top Rope Anchor - Using a Double Length Sling
In this video we review how to create a top rope anchor using a double-length sling (also known in the United States as a 4-foot sling). To create this type of top rope anchor, you’ll need the following:
1 - Double-length sling
2 - Non-locking carabiners for the bolts
AND
1 - Locking carabi... -
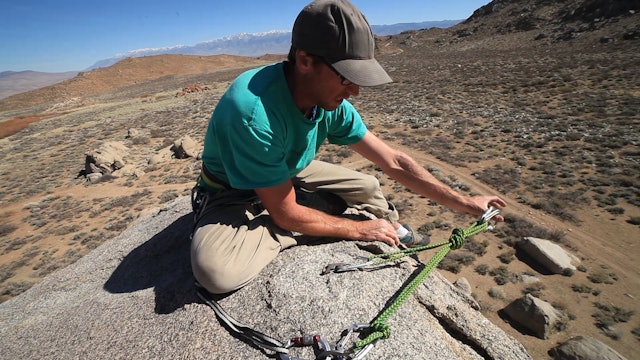
Basic & Intermediate Outdoor Climbing: 7. Top Rope Anchor - Using a Cordelette
In this video we review how to create an outdoor top-rope anchor using a cordelette. To create this type of top rope anchor you’ll need:
1 - Cordelette, 6 to 8 millimeters in length
2 - Non-locking carabiners
AND
1 - Locking carabiner -and- 1 non-locking carabiner
OR
2 - non locking car... -
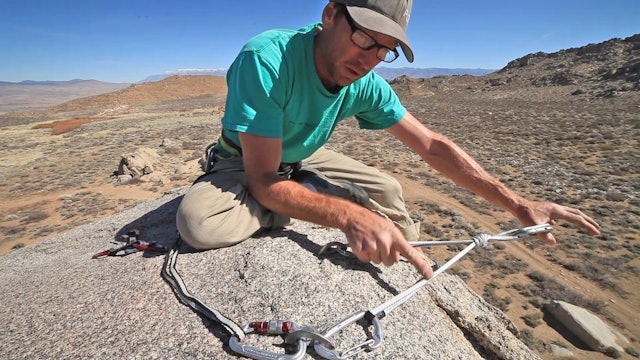
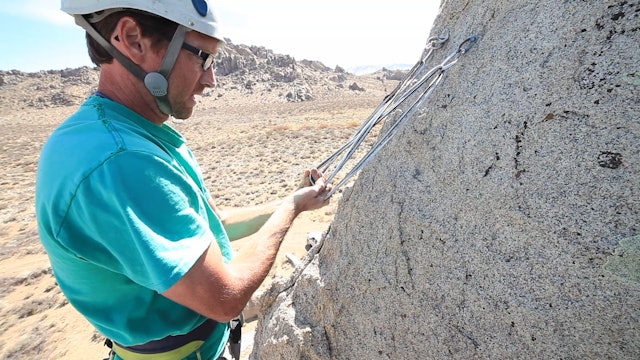
Basic & Intermediate Outdoor Climbing: 8. Top Rope Anchor - The Sliding X
Unlike gym climbing, outdoor climbing typically requires an anchor to be created at the top of the route. There are several anchor systems to choose from. In this video, we review the “Sliding X.” This is an anchor which has gone in and out of style through the years, and has some pitfalls. It is...
-
Basic & Intermediate Outdoor Climbing: 9. How To Belay From Above
In this video we review how to belay from above the climber, as opposed to below the climber. This is most often done on multi-pitch climbs, but can also be done at the top of a single-pitch climb, such as when it is easiest for the belayer to be above the climber.
There are three main methods...
-
Basic & Intermediate Outdoor Climbing: 10. Direct Belay using an Auto-Block Device
In this video we review how to belay a climber from above, directly off the anchor using an auto-block (or auto-locking) device. For more on the other two methods used to belay from above, see our video on “How to Belay from Above”.
For this belay method, you will need a belay device specifica...
-
Basic & Intermediate Outdoor Climbing: 11. Stopper Knots for Belay & Rappel
In this video we review how to tie a “double overhand knot” or “stopper knot” to help prevent the rope end from dangerously slipping through the belay device and/or rappel device. Including a stopper knot at the end of the rope helps to “close the system”.
Step 1 - Towards the end of the rope,...
-
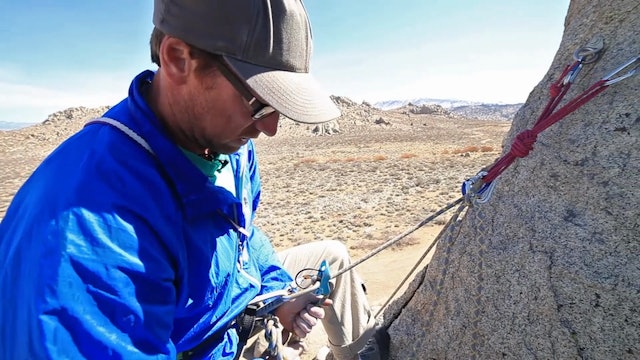
Basic & Intermediate Outdoor Climbing: 12. How to Back up the Rappel
In this video we review two ways to back up a belay device for a rappel.
Backing up the belay device using the rope above the device:
Step 1: Using the Sterling HollowBlock (or, in a pinch, a small loop of cordelette), tie the auto block friction hitch above the rappel device by wrapping th...
-
Basic & Intermediate Outdoor Climbing: 13. Cleaning a Top Rope Anchor & Rappelling with a Backup
In this video we review how to clean a top rope anchor and rappel back to the ground when you have finished climbing a route. For this, you must have a proper rappel station with rings at the top of the climb. If not, be prepared to leave gear behind.
Step 1: Properly secure yourself into the ...
-
Basic & Intermediate Outdoor Climbing: 14. How To Tie The Munter Hitch
In this video we review how to tie the munter hitch, and then tie it off with the munter mule knot. A munter hitch can be used as a belay, in the case of a forgotten or dropped belay device. The mule is a way to tie off the munter to go hands free, fixing the line in place.
Step 1: Clip a lock...
-
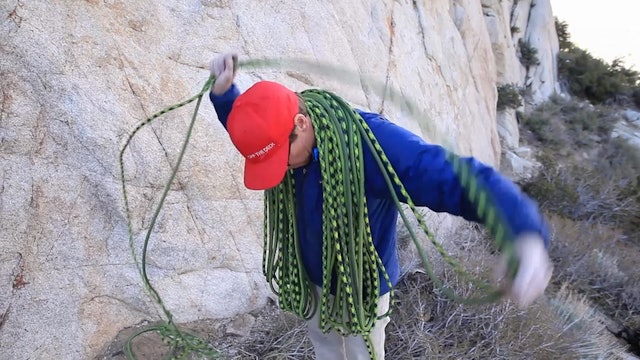
Basic & Intermediate Outdoor Climbing: 15. How To Coil the Rope - Butterfly Coil
In this video we review how to coil the rope using a butterfly coil. This is a great coil for carrying the rope like a backpack and is very useful when walking down from a multi pitch climb or walking off the top of a crag after top-roping.
Step 1: Line up both ends of the rope and measure two...
-
Basic & Intermediate Outdoor Climbing: 16. Traditional Climbing - Racking for Lead
In this video we look at ways for the lead climber to rack for their climb. Here are a few tips from our pros:
1. First, consult a guidebook, topo, or other climbers to find out what sizes and types of gear you need to safely protect the route.
2. Shoulder length slings can be worn over you...