Basic & Intermediate Outdoor Climbing: 8. Top Rope Anchor - The Sliding X
Basic & Intermediate Outdoor Climbing
•
59s
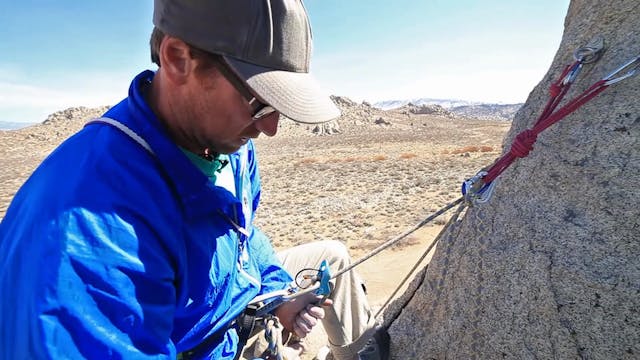
Unlike gym climbing, outdoor climbing typically requires an anchor to be created at the top of the route. There are several anchor systems to choose from. In this video, we review the “Sliding X.” This is an anchor which has gone in and out of style through the years, and has some pitfalls. It is not our most recommended anchor style, but we discuss it here so that you are familiar with if, how, and when to use it.
The main benefit of the Sliding X is that it can automatically adjust the equalization point; therefore, it can be a good choice for a wandering climb, where the climber will traverse while climbing to the anchor.
2 - Pre-existing bolts and hangers
2 - Double-length slings
2 - Non-locking carabiners
AND
1 - Locking carabiner -and- 1 non-locking carabiner
OR
2 - non locking carabiners
OR
2 - locking carabiners for the Master Point
Step 1 - Clip the 2 non-locking carabiners into the bolted anchor points (one carabiner for each bolt hanger).
Step 2 - Clip two double length slings (for redundancy) into each carabiner, and pull in the direction of the climber.
Step 3 - Holding each “half” of the double length sling in one hand, which means you’ll have two strands in each hand, flip one to create a loop. This marks the X of the Sliding X.
Step 4 - Clip all four strands with two opposite and opposed carabiners. The carabiners should slide smoothly from side to side as the slings adjust the equalization point.
NOTE: At no point should the Master Point (which is less defined in this anchor, but is where the opposite and opposed carabiners rest) drop down and shock load either piece of the anchor. This is possible with the Sliding X if one of the bolts were to fail (and violates SRENE, see video). For this reason, we use two double length slings so we are very confident in the strength of the slings, and two unquestionably solid bolts.
We hope you found this video helpful. Feel free to comment below with questions or thoughts!
Please remember, climbing is inherently dangerous. Climb at your own risk.
Up Next in Basic & Intermediate Outdoor Climbing
-
Basic & Intermediate Outdoor Climbing...
In this video we review how to belay from above the climber, as opposed to below the climber. This is most often done on multi-pitch climbs, but can also be done at the top of a single-pitch climb, such as when it is easiest for the belayer to be above the climber.
There are three main methods...
-
Basic & Intermediate Outdoor Climbing...
In this video we review how to belay a climber from above, directly off the anchor using an auto-block (or auto-locking) device. For more on the other two methods used to belay from above, see our video on “How to Belay from Above”.
For this belay method, you will need a belay device specifica...
-
Basic & Intermediate Outdoor Climbing...
In this video we review how to tie a “double overhand knot” or “stopper knot” to help prevent the rope end from dangerously slipping through the belay device and/or rappel device. Including a stopper knot at the end of the rope helps to “close the system”.
Step 1 - Towards the end of the rope,...


