Aid Climbing: 3. Basic Aid Techniques
Aid Climbing & Big Walls
•
3m 26s
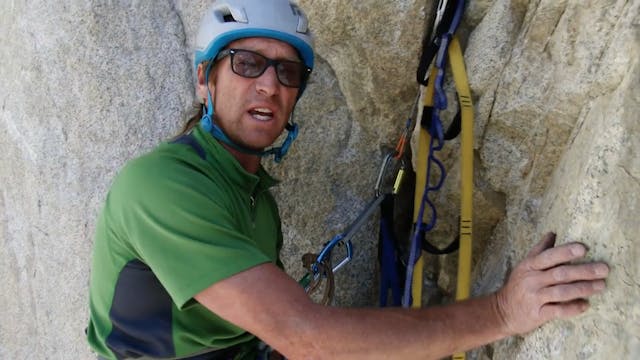
In this video we review basic techniques used in aid climbing.
Begin by putting on your harness and double checking your system before leaving the ground using the acronym, “BARK” which stands for:
Buckle
Anchor
Rappel
Knot
Attach both daisy chains to either the belay loop or tie in loops. Attaching your daisy chain to the tie in loops leaves your belay loop free for more gear (i.e. belay device, fifi hook...etc), but both are perfectly acceptable.
At the end of the daisy chains, attach your aiders with a locking carabiner, preferably with a key lock carabiner to prevent snagging.
We recommend attaching one ladder to each daisy. Some prefer to add a third ladder (floater) so they can keep two ladders on the piece they are currently weighting, but we find it is more streamlined to have one ladder per daisy. We highly discourage using four ladders.
Once you begin climbing you’ll follow the 7 steps outlined below:
Step 1: Place your first piece.
Step 2: Clip one of your daisy chains to the new piece.
Step 3: Test the next piece while you’re safely secured on the first. Keep your weight low so if the upper piece (the one you are testing) blows, you won’t take a static, daisy chain fall onto your first piece. Here are the three progressive tests to do before transferring your weight to your upper piece.
- Tug Test - Tug the daisy chain to see how the piece reacts.
- Leg Test - Increase the load by bouncing your leg up and down on the ladder.
- Bounce Test - If the piece has inspired confidence so far, give it a full blown bounce test with your full body weight on the ladder.
Step 4: If the next piece passes the bounce test, you’re ready to commit to the placement by climbing up your ladders as high as possible then clipping your fifi hook into the new piece (or by cinching your adjustable daisy).
Step 5: Clip the rope into the new piece once you’re on it, and only after you’re confident in its security.
Step 6: Assess your next move (such as the placement) and repeat steps 1-6 until you reach the anchor.
Step 7: Once you reach the anchor, fix the line by tying a figure eight knot and clipping it to your master point. Now your partner can ascend the line and clean the pitch.
Once the follower has reached the anchor and is safely secured, begin the next pitch by repeating these 7 steps.
We hope you found this video helpful. Feel free to comment below with questions or thoughts!
Please remember, climbing is inherently dangerous. Climb at your own risk.
Up Next in Aid Climbing & Big Walls
-
Aid Climbing: 4. Bounce Testing
In this video we explore the bounce test. Bounce testing is key to building a sequence of solid gear placements. After you've placed your piece, you’ll want to perform the bounce test to make sure the piece is solid, before moving completely onto that piece.
1. Clip your aider (daisy chain and...
-
Aid Climbing: 5. Cam Hooks
In this video we examine the various cam hooks used in aid climbing. Cam hooks are an invaluable tool when aid climbing: they can save time, and when used correctly they are quite “bomber” (or solid) compared to other forms of hooking.
Cam hooks can be used in pin scars created by lost arrow p...
-
Aid Climbing: 6. Jumaring Basics
In this video we examine the basics of jumaring. Jumaring, or “jugging”, is a means of ascending a fixed rope, which in aid climbing is done to either clean a pitch or simply ascend to a previous established highpoint.
First, adjust the length of your daisy chain to match your arm’s reach on y...


